
Introduction
In my nine-year programming career, I've never used a virtual private server (VPS) for any of my projects because shared hosting always did the job. I would probably still be using it if it wasn't for the constant price increase.
I want to use this article to document my journey going from shared hosting to VPS to help other developers know what to expect and where the pitfalls are.
On May 25, 2026, I purchased a KVM1 plan VPS on Hostinger because it was the best balance of price and performance for my personal tech blog. I searched through a couple of other options, like DigitalOcean and others, and Hostinger was a perfect fit for me.
And, the cherry on top, it has a referral program where you can invite a friend and you both get additional discounts. That was precisely what I needed because I had just such a friend who also wanted me to move his WordPress site from shared hosting.
I'm not a professional sysadmin, but as a programmer who has worked in the field for nine years, I'll walk you through my experience. We'll start with the conveniences and differences between the two, then move on to the migration itself. Let's start by addressing the elephant in the room: What makes VPS different from shared hosting?
Who this is for:
- You're a developer comfortable with the command line
- You've used shared hosting but want more control
- You're considering a VPS but don't know where to start
What you'll need:
- Basic Linux commands (
cd,ls,sudo,chmod) - SSH client (like OpenSSH or PuTTY)
- A project to migrate (optional but helpful)
Difference Between VPS and Shared Hosting
Shared hosting is like renting a room in a noisy dormitory with shared common areas like a kitchen and bathroom. One neighbor's party can affect everyone's experience. If someone uses too much bandwidth or their site gets attacked, it impacts your performance too.
VPS is like moving into your house where you have your walls and full control over the environment. You can paint the rooms any color you want without asking permission, install whatever you need, and your neighbors' activities don't directly impact your space.
Note. Some providers offer shared vCPUs, meaning if someone is blasting music in their house, they're still going to impact neighbors. Others provide dedicated cores, where you're essentially in a soundproof room. A vCPU, or virtual CPU, is a piece of a physical processor assigned to your virtual machine by a hypervisor.
Note. A hypervisor, sometimes called a virtual machine monitor, is software that controls communications with the CPU of the computer. Instead of talking to the CPU directly, the hypervisor intercepts those signals and queues them up in the right order. Why do you need that, you might ask? The answer is when you have 2 or more operating systems talking to the same CPU at the same time. Basically, a hypervisor is what makes it possible to share the same physical CPU with multiple computers.
That's why it's better to have VPS than shared hosting if you want more freedom. With VPS, you can have any Linux distribution that you want with any software that you want. Shared hosting puts you in an existing distribution with other users already there. You cannot see them if you type ls /home. But they are there.
The Cost of Conveniences
The biggest advantages of shared hosting are the integrated, user-friendly panels like cPanel and DirectAdmin. They are truly wonderful pieces of software. The amount of configuration you can do there is insane.
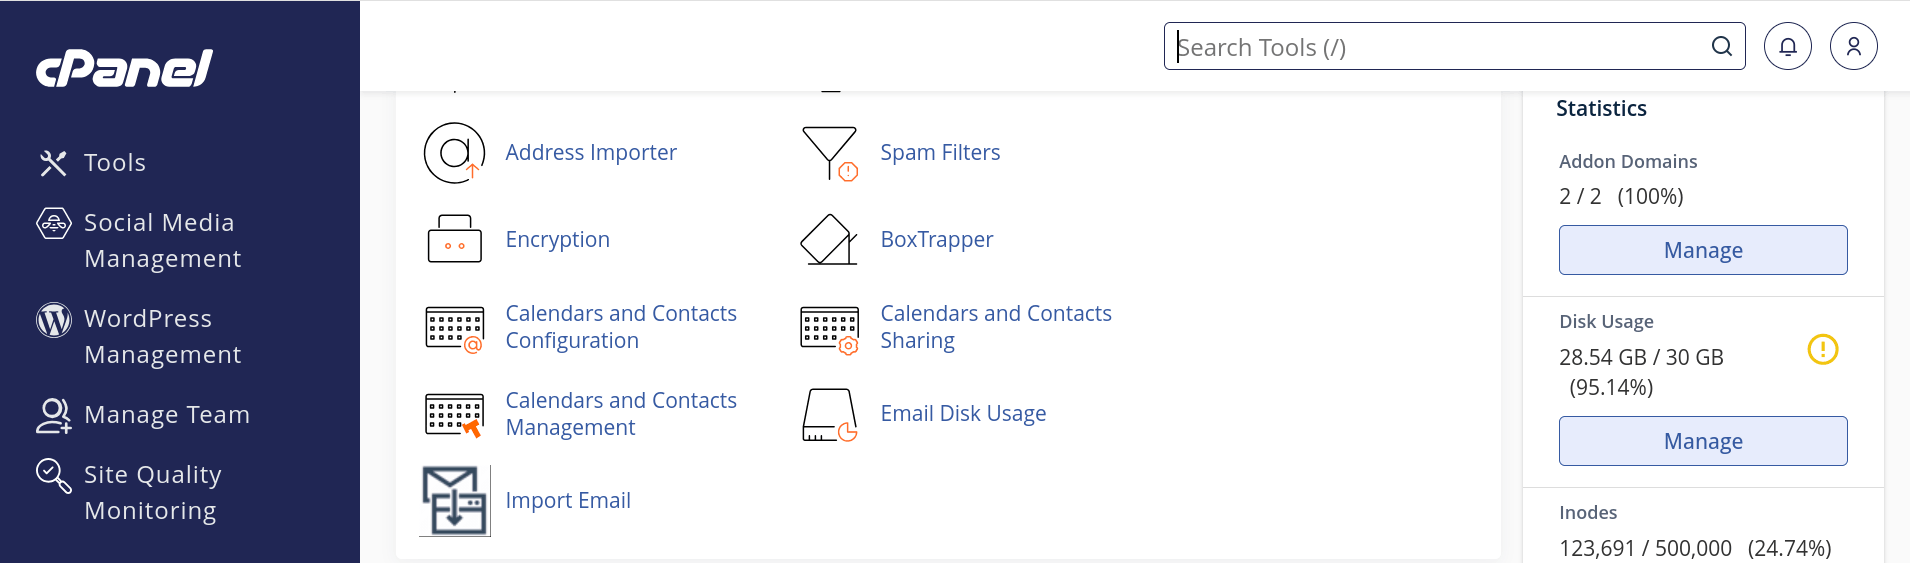
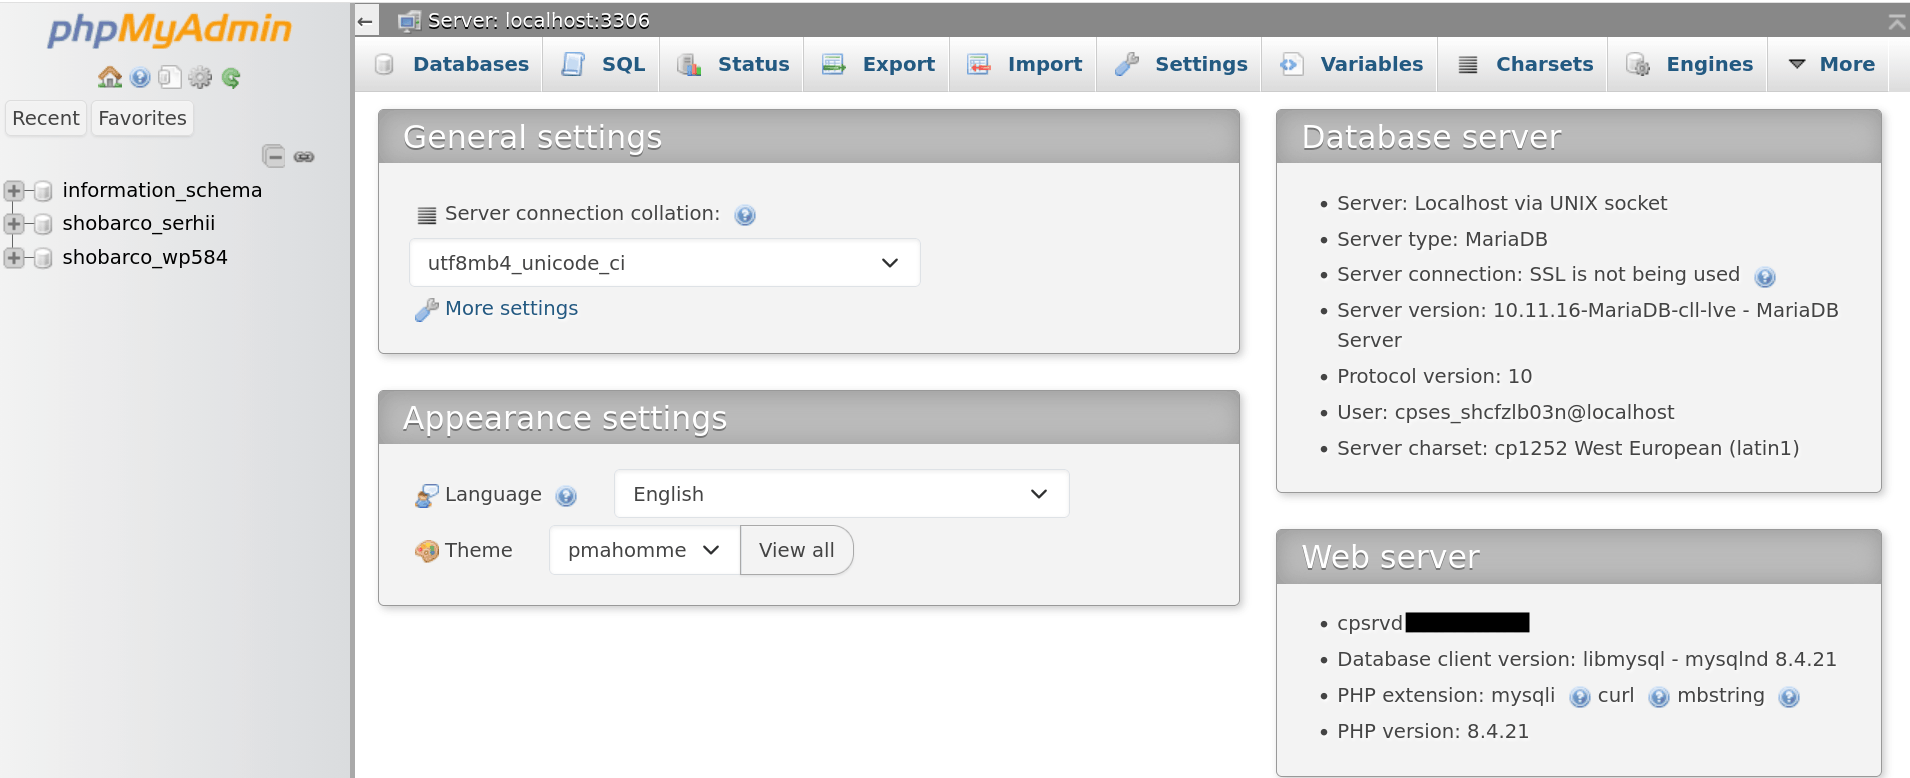
But at the same time, these interfaces prevented me from learning how to work with Linux directly through the terminal. A good example is phpMyAdmin, a tool for administering MySQL and MariaDB over the web. While it's convenient to use the interface, my MySQL CLI knowledge faded a little more each year.
Yet for programmers, these panels get in the way of actually learning things. You'll never learn how to install a new PHP version with its extensions on a production server. Or how to set up Apache 2 with its mods.
Because if you try to do any of those things on shared hosting, you'll quickly find out that you don't have root permissions. Remember our comparison with the dormitory room? You can do things inside your room, but everything outside of it doesn't belong to you. That brings us neatly to the next chapter.
Root Permissions
Having root access to your system grants the absolute authority to manage every aspect of the operating system, including the installation of custom services and management of configuration files.
If you need a specific Python library or PHP extension, you can always install it without any issues on VPS. Shared hosting, on the other hand, restricts you to a specific set of pre-installed programs.
Sure, one of the solutions is contacting your hosting support and asking them to install it, but this process is often slow and might lead to refusals from the hosting provider if you ask for too much or too often.
But with VPS, you have the full power to do anything you want, and that's what I was missing for all of those years of managing my infrastructure on shared hosting. I can now build and run custom binaries, put my project into a container with Podman, restart any service that I want, and more.
One thing left: the migration itself.
The Migration Process
Migrating from shared hosting to a VPS isn't rocket science. It would be a struggle for non-tech folks, but for developers like us, it's mostly about knowing where to start.
It's not all sunshine and rainbows, though. I'll share the hidden pitfalls later, but for now, let's focus on planning the move.
I'm going to assume that you will manage your VPS through the CLI instead of installing cPanel and other interfaces like phpMyAdmin to manage your system. There is nothing wrong with doing so. However, skipping the GUI is how you really learn what's going on.
Planning
The first real step in any migration is choosing the right hosting provider. I'm not going to compare any hosting providers because they change every year, but I've personally tried DigitalOcean, Hostinger, and a couple of local options, and I settled on Hostinger because DigitalOcean was pricier. It doesn't mean that you should also pick Hostinger. That's just my pick based on the price and the UI for managing my VPS.
Regardless of your provider, try to find coupons and discounts for your desired plan. You can save a significant amount of money if you look for referral links and coupon codes. Many providers are glad to provide you discounts to make you sign up for their service.
Execution
Once you select your preferred provider, it's time to set up your VPS. Usually, you'll pick such options as a distribution, storage capacity, and a server geolocation. As a first step, you need to update and upgrade your system. I like to do it like this:
apt update && apt upgradeAfter upgrade is done, I like to run the autoremove command to make sure there are no unused packages on the system.
apt autoremoveNext, you'll need to set up an SSH connection with your VPS and come up with a password for the root user.
Once access is secured, you can create a user with sudo privileges. Here are the steps:
1. Create a user with bash shell instead of sh:
useradd -m -s /bin/bash my-user2. Check if the user was added:
getent my-user | grep my-user3. Set a password for the user you just created:
passwd my-user4. Move authorized_keys from root to a new user:
cp -r .ssh /home/my-user5. Change permissions on the .ssh directory for a user:
cd /home/my-user && chown -R my-user:my-user .ssh6. If you are using Debian, install sudo:
Debian distribution doesn't include sudo by default, you'll need to install it:
apt install sudo7. Add your newly created user to the sudo group:
usermod -aG sudo my-user8. Check if the user was added to the sudo group:
cat /etc/group | grep sudoThe output should be something like sudo:x:27:my-user.
- sudo: The group name
- x: An old placeholder for a group password (group passwords are rarely used nowadays, so this is mostly a leftover convention)
- 27: The group ID (GID)
- my-user The user in the group
9. Exit VPS and try to SSH into it as a user instead of root:
ssh -t my-user@my-server-ip "cd /home/my-user && exec bash -l"I like this command because it allows me to SSH into a specific directory on a server instead of going into a home directory. Currently, I just have it as /home/my-user but you should change it to your project directory like /var/www/html.
If everything works and we can SSH as a user, we should disable SSH as root and forbit a password login for better security.
1. Go into the SSH deamon configuration directory and list of the files there:
cd /etc/ssh/sshd_config.d && ls -lIn my case, I get this output:
total 8
-rw------- 1 root root 27 Jun 20 06:22 50-cloud-init.conf
-rw-r--r-- 1 root root 26 May 18 12:59 60-cloudimg-settings.conf
Your output can be different. We need to create a new file in this directory with a prefix number higher than those that already exist. The higher the number, the higher the priority for applying the configurations. In my case, the file 60-cloudimg-settings.conf has number 60. I'll create a 100-my-user.conf file to make sure my file has priority.
2. Create a configuration file for SSH deamon:
sudo touch 100-my-user.conf3. Open the file you've just created with your preferred editor and add these 2 lines:
PermitRootLogin no
PasswordAuthentication no
The reason is that you don't want to execute commands as the root user directly, as this exposes your system to significant security risks. Additionally, it will lead to permissions issues where root files will not be accessible by a web server.
4. Restart SSH deamon to apply configuration:
sudo systemctl restart sshYou should also install the required software. In my case, I've installed Apache 2 with the needed mods, MariaDB, and certbot for automatic SSL.
Hidden Pitfalls
One of the things you need to keep in mind while making the move is the mail server. If you are using an external SMTP service like SendGrid, Brevo, or Mailgun, the transition remains relatively straightforward. However, hosting your own mail server introduces challenges regarding IP reputation.
It's not that difficult to set up a mail server on Linux, but to configure it so that your mail doesn't go to a spam folder on most email providers is a different story. Basically, you can spend days and weeks configuring your own mail server, or you can just use an SMTP service.
In my case, I've just created an account on one of those services because some of them are giving free daily emails, which is what I need.
Black Hole
I cannot elaborate on the transition to VPS without explaining the biggest issue that I had in this journey. While writing this article, I still don't know whose fault it was. It could have been me, my ISP, or the hosting provider, but I must share it with everyone. Let's discuss what the black hole is first.
In networking, a black hole is where packets go to die. They enter but never leave, and the sender never finds out. To put it simply, it functions as a digital void where data packets enter but never exit, often leaving the sender unaware that a connection failure has occurred.
In your browser, it would look like an infinite page loading or a connection timeout because the network layer silently drops the traffic without transmitting an error signal to your router.
When I tested to access my website with VPN enabled, it would work fine for some VPN servers, and some of them had the same issue. It wasn't a DNS issue because I was also testing the SSH connection, which was connecting by IP address instead of domain.
After making sure I'm not running any firewalls and my /etc/hosts.deny is empty, I've contacted the hosting provider and explained the issue. Their argument was that they are not blocking any IP addresses for my VPS, and my website works perfectly fine from their end.
After searching for more information about what to do in these situations, I learned about a cool network diagnostic tool called MTR (My Traceroute), and it made me love Linux even more than before. This is a fantastic program that combines the functionality of ping and traceroute in a single tool. Since it shows the results live, we need to pass --report or --report-wide flag to print the output once instead of serving it live.
mtr --report 31.97.72.194After running that command on my server's IP address, I got this:
Start: 2026-05-31T19:41:25+0300
HOST: linux                       Loss%   Snt   Last   Avg  Best  Wrst StDev
  1.|-- _gateway                   0.0%    10    1.1   1.1   0.7   1.4   0.2
  2.|-- 10.18.82.154               0.0%    10    1.8   2.0   1.5   2.5   0.3
  3.|-- 193.105.3.149              0.0%    10    3.2   3.4   1.7   4.2   0.7
  4.|-- 10.132.223.16              0.0%    10   39.3  24.6   9.3 103.6  29.7
  5.|-- v110.cors.kbps1.he.net     0.0%    10   14.7  12.0   9.0  19.5   3.8
  6.|-- ve951.cors.kbps1.he.net    0.0%    10   11.3  10.8  10.0  11.6   0.6
  7.|-- be7.core1.waw1.he.net      0.0%    10   25.9  26.9  24.8  34.6   2.8
  8.|-- port-channel4.core2.vno1.  0.0%    10   30.1  30.1  29.5  31.0   0.5
  9.|-- ???                       100.0    10    0.0   0.0   0.0   0.0   0.0
Note. I've modified some IP addresses in the output to hide the real route from my ISP to neighboring countries. Even though it's not confidential information, it's completely public, and anyone can find those IPs.
For the result, we get a beautiful table with all the hops starting from the gateway (your router) and ending with question marks at hop 9 with 100% packet loss. That question mark line is the black hole. This clearly tells us that my packets travel far past my ISP and disappear after port-channel4.core2.vno1.he.net which points to Hurricane Electric LLC's router in Lithuania.
To make sure the data is correct, I also executed sudo tcptraceroute 31.97.72.194 and got a similar result. Like I said before, I still don't know whose fault it was. Probably incorrect BGP routing, but the issue was resolved after a couple of days by itself. I'm assuming it's because BGP routing tables got updated, but that's just my guess.
Anyway, I just wanted to mention this issue with my VPS because it had a significant impact on my experience. Keep these Linux commands in your belt when debugging disappearing packets.
Web Server Issues
After solving the BGP routing issue and adding final configurations to the web server, I needed to make sure everything works. I've noticed right away that my Laravel website was loading the main page perfectly fine, but as soon as I switched to any other page, it would give me a 404 (not found) error. If you are using Apache, like in my case, then it's oftentimes a path overrides issue. You need to go into your Apache configuration file in /etc/apache2/apache2.conf and change AllowOverride line to have value All for your project directory:
<Directory /var/www/>
    Options Indexes FollowSymLinks
-    AllowOverride None
+    AllowOverride All
    Require all granted
</Directory>
After that change, restart Apache:
sudo systemctl restart apache2After the restart, Apache will read .htaccess files and apply those configurations on the fly instead of relying on the main config file. That should solve the 404 issue for Laravel and other frameworks that rely on .htaccess files.
Locking Down Your Permissions
Another common issue after migration is your web server failing to write to directories like cache or logs due to incorrect file permissions. The best way to go about it is:
- Make your user own all the project files with the group having read-only access. If the server gets hacked, the attacker (running as www-data) can't modify files because they're owned by your user, not www-data.
- Make all the project directories executable. On Linux, without execute permission, you cannot 'cd' into a directory, even if read permissions are set.
- Allow the www-data group to modify specific directories. Your server needs to have read and write permissions for specific directories like cache and logs.
Here is the list of commands similar to what I was executing on my VPS:
# Go into your project
cd /var/www/html/serhiicho.com

# Change ownership for all the files
sudo chown -R my-user:www-data .

# Make all directories accessible by user and a group
sudo find . -type d -exec chmod 750 {} +

# Make all the files owned by your user and read-only by the group
sudo find . -type f -exec chmod 740 {} +

# Make specific directories writable by the server
sudo chmod -R 770 storage bootstrap/cache public/sitemap.xml

# Make specific directories owned only by www-data user and group
sudo chown -R www-data:www-data storage bootstrap/cache
Here is a quick reference for what each permission number means
┌──────────┬─────────────────────────┬──────────┐
│ Number   │ Permission              │ Symbolic │
├──────────┼─────────────────────────┼──────────┤
│ 0        │ No permissions          │ ---      │
│ 1        │ Execute only            │ --x      │
│ 2        │ Write only              │ -w-      │
│ 3        │ Write and execute       │ -wx      │
│ 4        │ Read only               │ r--      │
│ 5        │ Read and execute        │ r-x      │
│ 6        │ Read and write          │ rw-      │
│ 7        │ Read, write, and execute│ rwx      │
└──────────┴─────────────────────────┴──────────┘
So 750 means:
- Owner = 7 (read, write, execute)
- Group = 5 (read, execute)
- Others = 0 (no access)
Your user needs to be a member of www-data group in order to at least read the files owned by the server. To check which users are in www-data group, you can run:
cat /etc/group | grep www-dataIf there are no users, you'll get something like www-data:x:33:. To add your user to the www-data group, you can run usermod command:
sudo usermod -aG www-data my-userThe -aG flag in this case tells Linux to add the user to the group instead of replacing all existing groups. That should lock things down securely. If you have a better way of doing it, please share it in the comments. I'm always open to learning new things. I'll update this article, and thank you in advance.
Ongoing Maintenance
The migration is done, but the work isn't over. A VPS requires ongoing attention. You'll want to keep an eye on updates, logs, and backups. A firewall wouldn't hurt either. But honestly, I'll save the details for the next article, "VPS Maintenance: The Independent Approach", which will cover everything in detail.
I'll cover things like how to set up a firewall, how to create automatic backups, and system monitoring, where you'll be notified about your disk usage and site availability. If you are interested in this topic, consider subscribing if you don't want to miss it. You can unsubscribe anytime at the bottom of each email.
Companies spend millions of dollars on firewalls and secure access devices, and it's money wasted because none of these measures address the weakest link in the security chain: the people who use, administer, and operate computer systems
![Kevin Mitnick's photo]()
Kevin Mitnick

Conclusion
The rising price tag on my previous hosting pushed me to consider alternatives and eventually move to a VPS. Was it a good personal decision? Absolutely! Messing with Linux and config files always excites me, and I can now do things that I couldn't do on shared hosting. I can install any software I want, have full control over my environment, and have significantly more compute power on the server.
It's one of those cases where the price increase was a blessing because it pushed me to learn new things and gain more control over my project. If you're on the fence, go for it. It's challenging, but you'll learn a ton.
And as a cherry on top, it led me to write this article to document my journey. Thanks for reading, thank you, Linux, and happy hosting to all of you.
Keywords: ubuntu, server, mitnick, hostinger